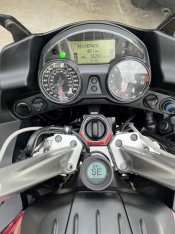
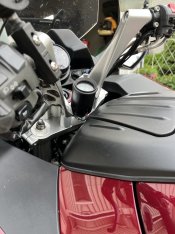
I bought a very cool digital gage for air temperature, compass direction, and elevation to add to my 09’ C14. The unit is supposed to be plug and play for a 96’-2013’ HD bagger. Regardless… all I need is power, ground, and the lead for the sensor.
So far, I am on my third sensor that does not work. I found out that the OEM gage has an ohm range of 18.6 to 322.8.
Sensor #1 is white and from a 2003 Electra Glide Standard. I am not convinced it is for ambient air as there are 3 pins in the connector.
Sensor #2 has a single bolt attachment and is from a 2011 Dyna Glide. The resistance at roughly 75 degrees is around 2.8 K ohms (2800 ohms).
Sensor #3 has a two bolt attachment and fits a 2011 Road Glide. It reads roughly 2.4 K ohms at 75 degrees (2400 ohms).
Seems hard to believe that HD would engineer vastly different sensors across models… but it IS HD.
I would like to know from our expert folks what models would be considered baggers for HD from 96-2013. This would be helpful to try to find the right sensor.
A guy on YouTube put a HD air temp gage on his laser. He had similar problems and ended up making his own sensor with a thermistor. I am open to such an idea; however, have no idea how to size one that takes the wiring resistance into account.
Anyone have any helpful information?
Thanks!


